



This guide helps you upgrade or downgrade your hosting plan in your PrabhuHost Client Area, ensuring your website always has the resources it needs.
Steps to Upgrade or Downgrade Hosting
-
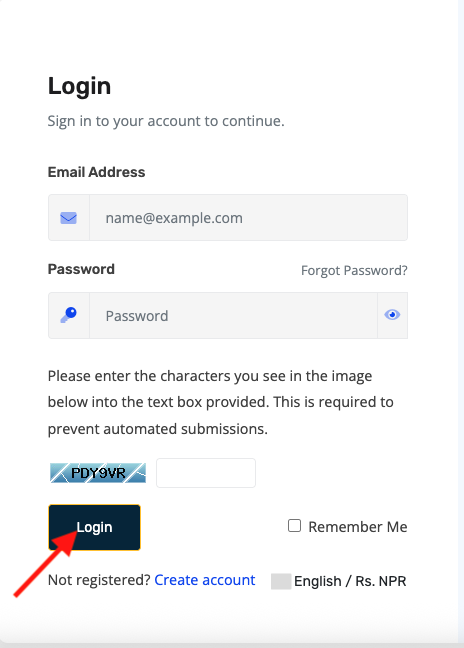
Log in to your Client Area
- Go to https://portal.prabhuhost.com/clientarea
- Enter your username and password.
2. Navigate to My Services
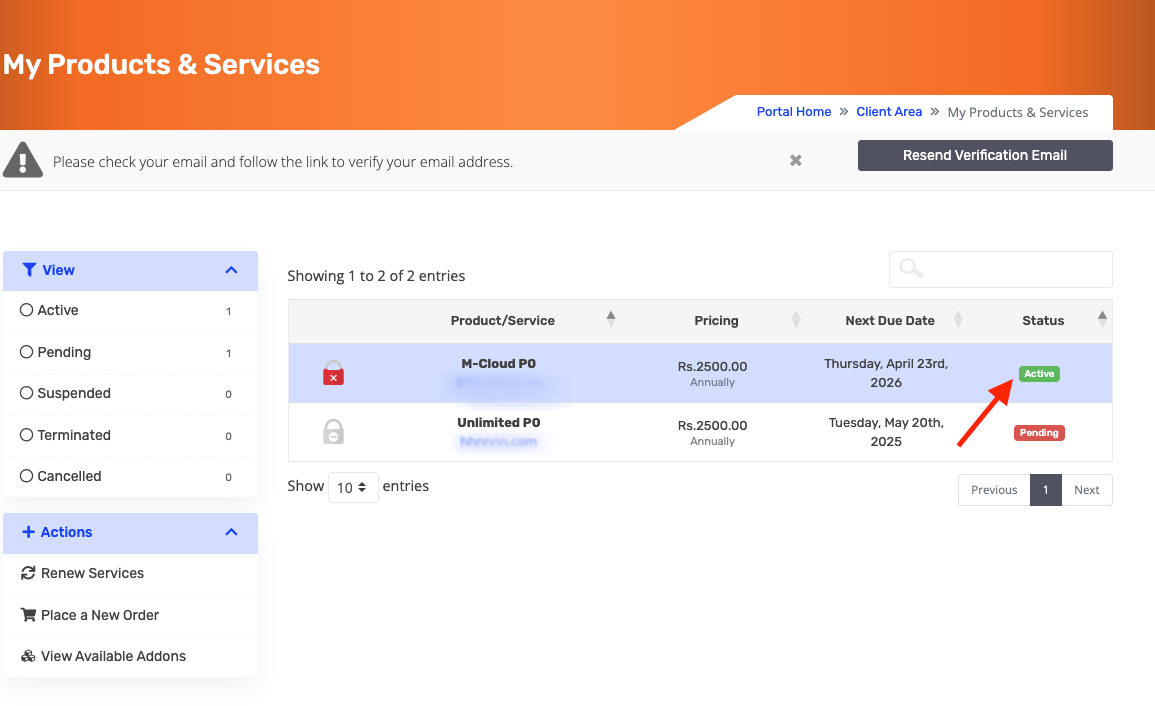
- Click on Services → My Services in the dashboard.

- Select the hosting account you want to modify.
3. Click on Upgrade / Downgrade
-
On your hosting account page, click the “Upgrade/Downgrade” button.

4. Choose Your Desired Plan
-
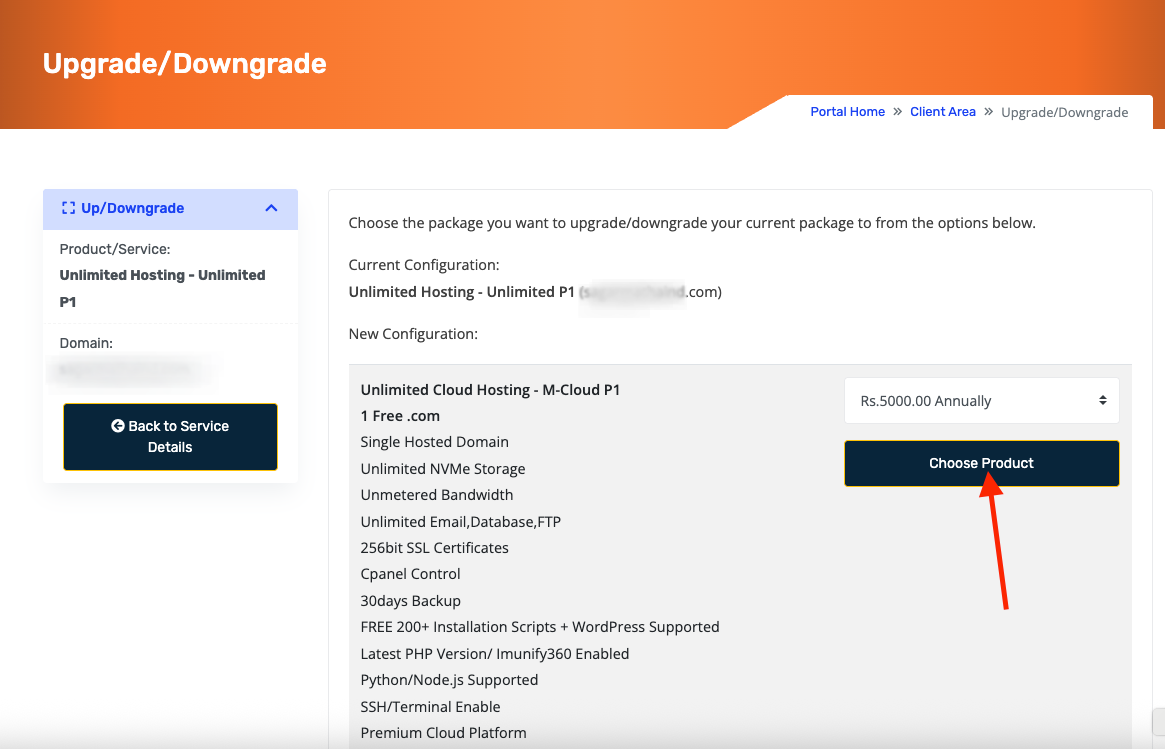
You will see a list of available plans.
-
Select the plan you want to upgrade to or downgrade to.
-
Review pricing, resources, and limits before confirming.

5. Confirm and Make Payment (if upgrading)
-
Click Continue.
-
If the plan requires additional payment, complete the checkout process.Wait for Processing
- Once completed, the system will apply the changes automatically.
- You may receive a confirmation email once the upgrade/downgrade is complete.
Notes & Tips
-
Downgrades: Ensure your current usage (disk space, bandwidth, number of email accounts, databases, etc.) fits within the new plan. Otherwise, the system may block the downgrade.
-
Upgrades: Resources are applied immediately after payment.
-
Always check your website functionality after the plan change.
-
If you face issues, contact support with your account ID.
