








FileZilla is one of the most popular FTP tools for Windows, MacOS, and Linux. It’s free, open-source, and user-friendly. Features include bookmarks, pausing/resuming transfers of large files, tabbed interface, and remote file search.
Even if you’re new to FTP, this guide will help you connect to your hosting server and upload files using FileZilla.
Step 1: Download and Install FileZilla
-
Go to the official FileZilla website: click this link to ensure you download the genuine software. Avoid third-party downloads to prevent malware or spyware.
-
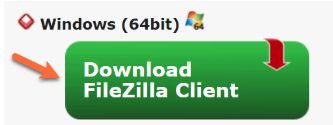
Click the “Download FileZilla Client” button.
-
The site will detect your operating system and show a green download button. Click it to download.
-
Open the downloaded file and follow the instructions to install FileZilla on your computer.
Step 2: Connect to Your Server via FTP
-
Open FileZilla.
-
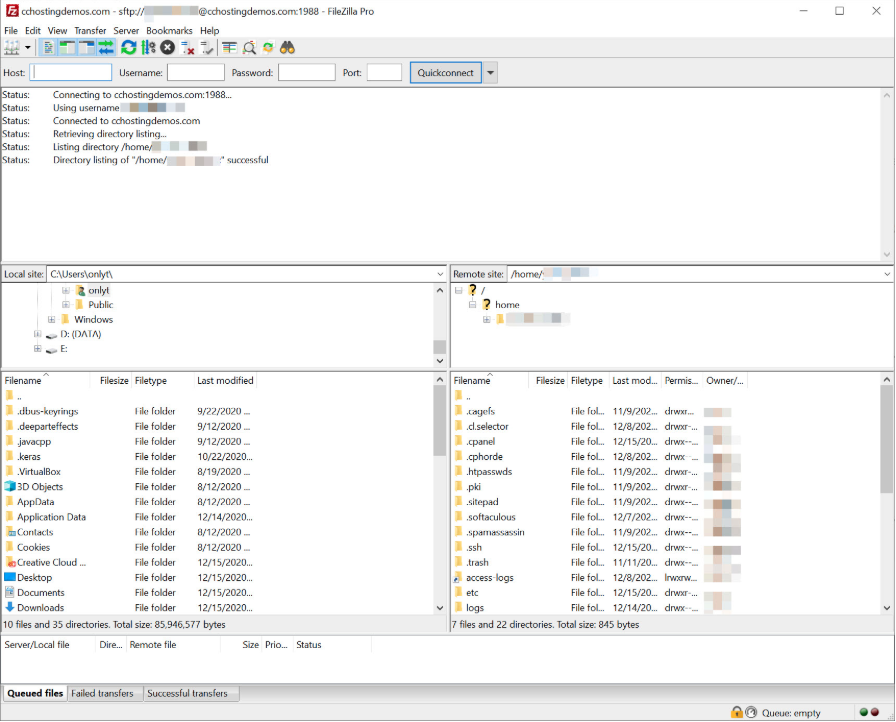
Enter your FTP account details at the top of the app:
-
Host: Your domain name or server address
-
Username: Your cPanel username
-
Password: Your cPanel password
-
Port: 21 (default; leave blank if needed)
-
-
Click Quickconnect.
Tip: To create additional FTP accounts, see our cPanel FTP Accounts guide
Once connected:
-
Left panel: Files on your computer
-
Right panel: Files on your hosting server
Step 3: Upload Files to Your Server
-
Locate the files or folders on your computer in the left panel.
-
On the right panel, navigate to the folder on your server where you want to upload (e.g.,
public_html). -
Drag and drop files from the left panel to the right panel.
Tip: You can select multiple files by holding CTRL (Windows) or CMD (Mac) while clicking them.
Your files are now uploaded to your hosting account. If you face any issues, our 24×7 support team is available to assist.
