







Method 1: Using the Redirects Option in cPanel
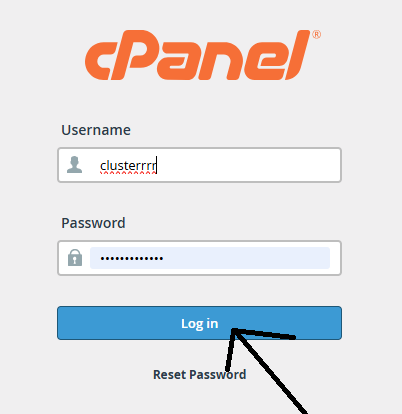
Step 1: Log in to cPanel
⦁ Enter your cPanel credentials to access the dashboard.
Step 2: Locate the "Redirects" Option
⦁ Navigate to the "Redirects" option, typically found in the "Domains" section of the cPanel dashboard.

Step 3: Configure Redirect Settings

- Type: Permanent (301)
⦁ Under the "Redirects" section, choose the redirection type:
⦁ Permanent (301): For discontinuing the use of the original website permanently.
⦁ Temporary (302): For temporarily moving a page to a new website (e.g., during maintenance).
2. http?//(www): When redirecting, choose "All Public Domains" if your intention is to redirect all domains or subdomains and redirect the entire website. If you specifically wish to redirect the domain example.com, exclusively select the example.com domain.
3. Redirects to: Enter the full URL, including the protocol (http:// or https://), where you want the site traffic redirected.
4. www. redirection: Choose the suitable option according to your preference for including or excluding "www" in the URL. Implementing these redirect settings ensures a smooth transition for visitors, allowing them to reach the intended destination seamlessly, with or without "www," depending on your selected preferences.
5. Wild Card Redirect: Enabling the Wild Card Redirect option will reroute all files within a directory to their corresponding filenames in the redirected directory. However, it's important to note that you cannot utilize a Wild Card Redirect to redirect your main domain to a different directory on your site.
Step 4: Save Changes
⦁ Click "Add" or "Save" to apply the redirect settings.
Step 5: Test the Redirect
⦁ Open your web browser and enter the original domain (e.g., www.example.com) to confirm the successful redirection to the specified URL (e.g.,https://www.example2.com/).
Method 2: Using the .htaccess File
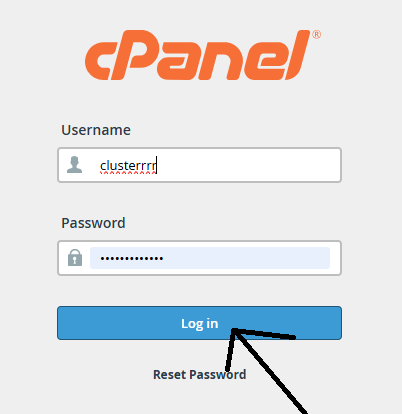
- Access cPanel: Log in to your cPanel account.
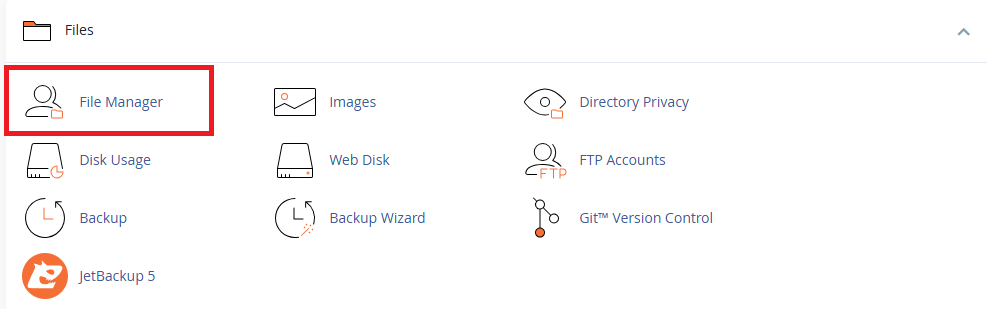
2. Navigate to File Manager: Find the "File Manager" icon and click on it. This will open the file management interface.
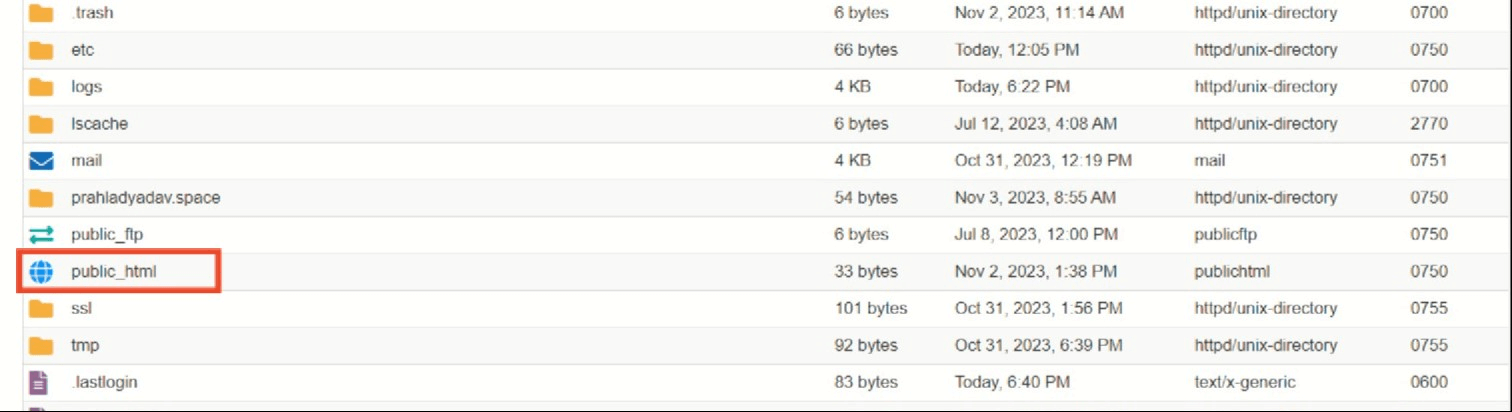
3. Select Document Root: Choose the document root for the domain. This is usually public_html or, something like addondomain.com if domain is an addon. Make sure you're working with the correct directory.
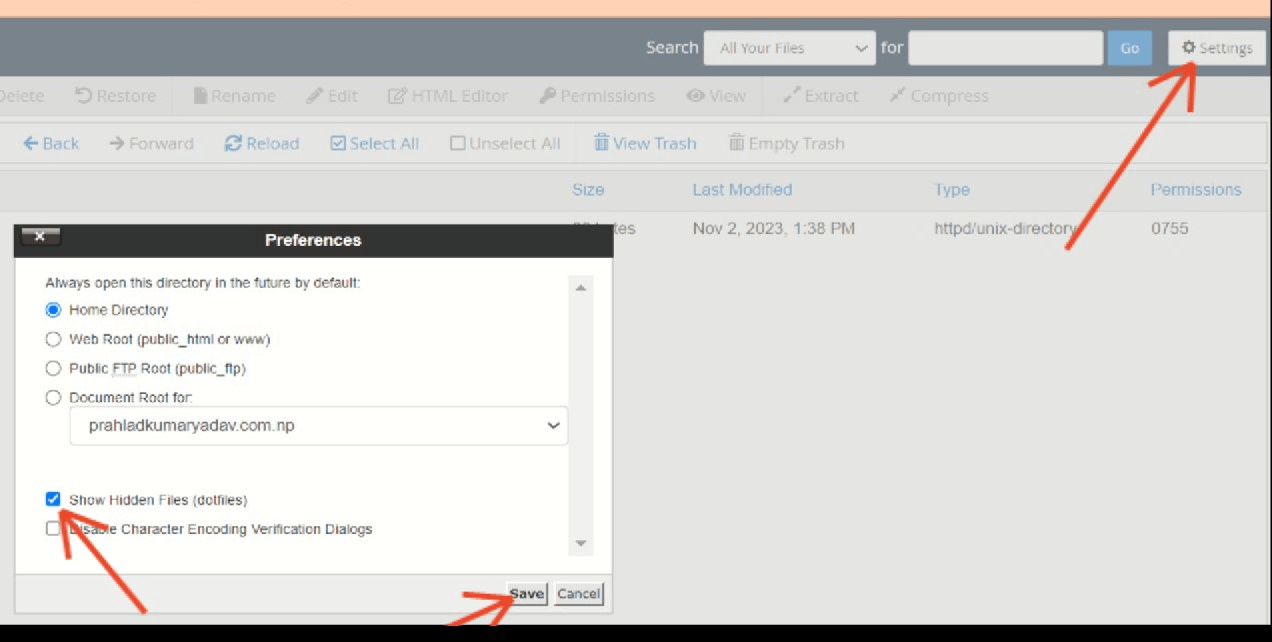
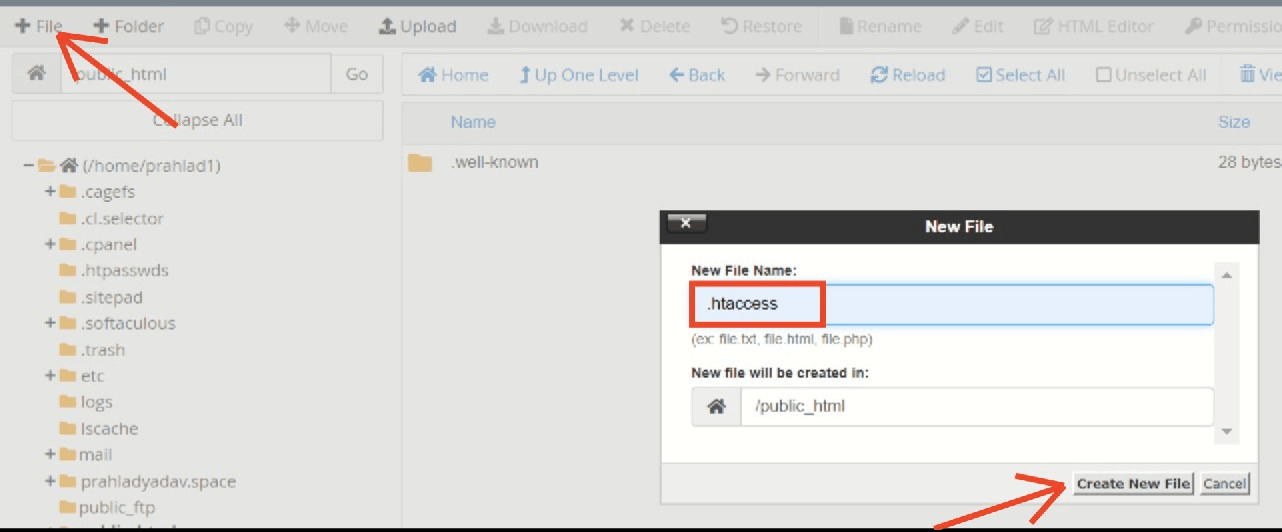
4. Find the existing .htaccess file, and in case of difficulty, navigate to the settings to reveal "hidden files." Alternatively, if no .htaccess file exists, create a new one.
OR
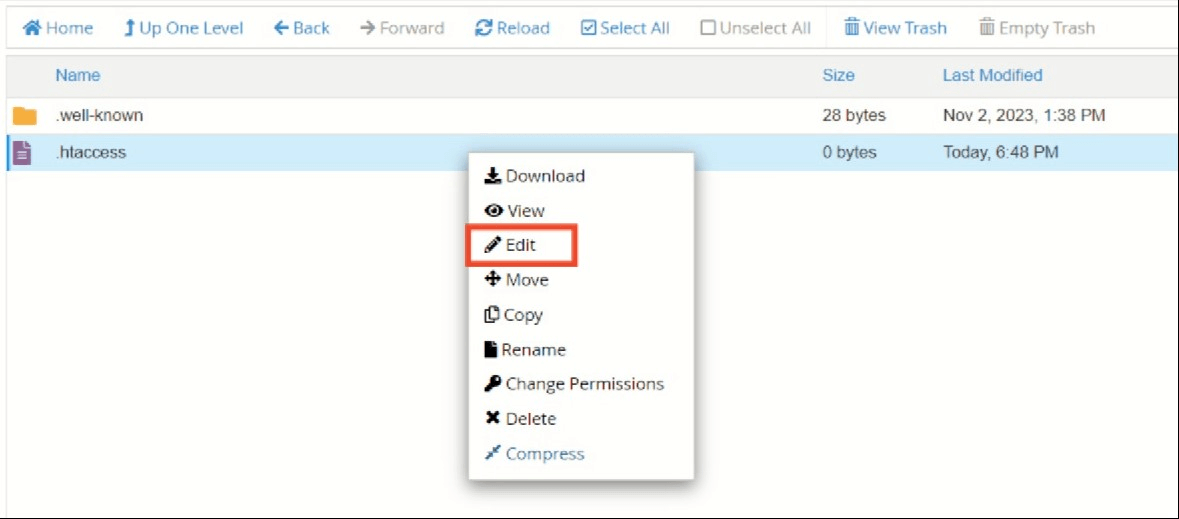
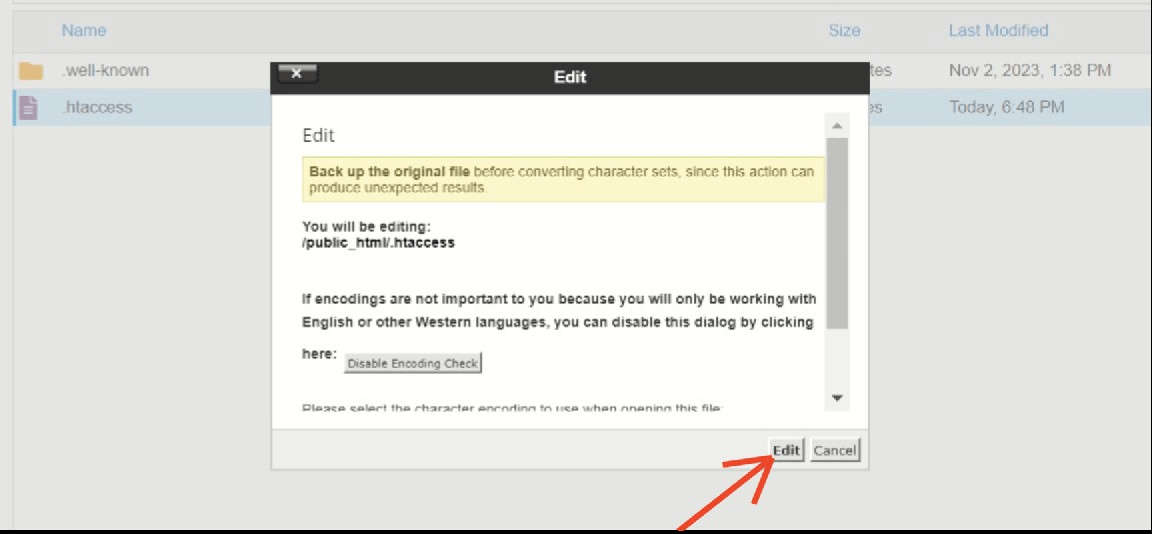
5. Edit .htaccess: Right-click on the file and select "Edit" or "Code Edit." Choose the text editor option if prompted.
Then
6. Add Redirect Rule: Insert the following code at the beginning of the .htaccess file:
RewriteEngine On
RewriteCond %{HTTP_HOST} ^addondomain\.com$ [OR]
RewriteCond %{HTTP_HOST} ^www\.addondomain\.com$
RewriteRule ^(.*)$ http://www.maindomain.com/$1 [R=301,L]
Replace addondomain.com with your actual addon domain and www.maindomain.com with your main domain.
7. Save the Changes: Save the changes to the .htaccess file.

Explanation of the code:
⦁ RewriteEngine On: Enables the Apache mod_rewrite module.
⦁ RewriteCond %{HTTP_HOST} ^addondomain\.com$ [OR]: Checks if the requested host is the addon domain.
⦁ RewriteCond %{HTTP_HOST} ^www\.addondomain\.com$: Checks if the requested host is the addon domain with 'www'.
⦁ RewriteRule ^(.*)$ http://www.maindomain.com/$1 [R=301,L]: Redirects all requests to the main domain while preserving the path ($1). The [R=301,L] indicates a permanent redirect (301) and stops further processing (L).
8. Test the Redirect: Open a web browser and enter the addon domain URL. It should automatically redirect to the main domain.
Please note that the changes might take some time to propagate. Clear your browser cache or try in a new browser/incognito window if the redirect doesn't seem to work immediately. Additionally, it's always a good idea to back up your .htaccess file before making changes.
